


The hardest part of becoming a software engineer is starting. New developers may feel overwhelmed and never take the first step.
Before writing a line of code every developer needs to first set up their dev environment. This article is to help non-devs dip their toes into the world of software development by providing an easy to follow step by step guide to set up every tool you need to start coding.
I guarantee this will be the simplest introduction to development on the internet and that anyone will be able to follow this guide.
Developer environment setup for Windows
To code on a windows device, you will need to download a Linux subsystem. This sounds much more daunting than it actually is. This is completely free and easy to set up.
You must have at least Windows 10 or higher to be able to set this up.
Microsoft has a really great guide here that you can follow. I will provide the same guide with pictures so you can follow along.
Setting up Windows Subsystem for Linux (WSL)
- In your application bar search for "PowerShell" and run this application as an administrator.
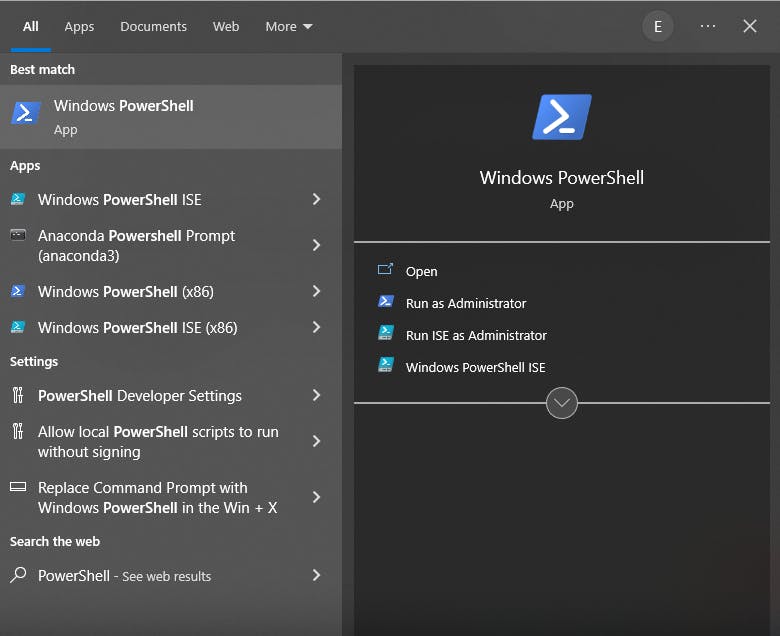
- There should be a blue PowerShell terminal that opens up. Copy and paste this into the terminal and press enter:
Enable-WindowsOptionalFeature -Online -FeatureName Microsoft-Windows-Subsystem-Linux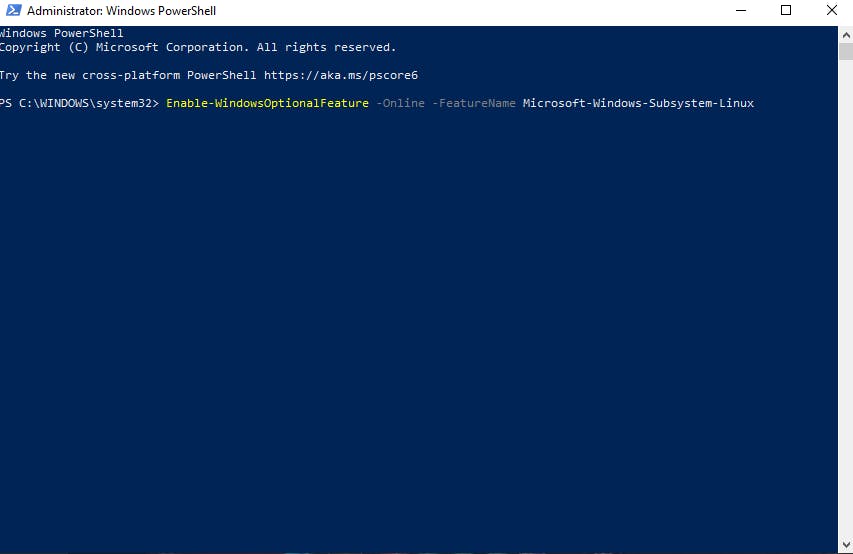
- After this command finishes running restart your computer.
- In your application bar search for "Microsoft Store" and open the application.
- Find "Ubuntu" in the Microsoft Store and click "Get" then "Install"
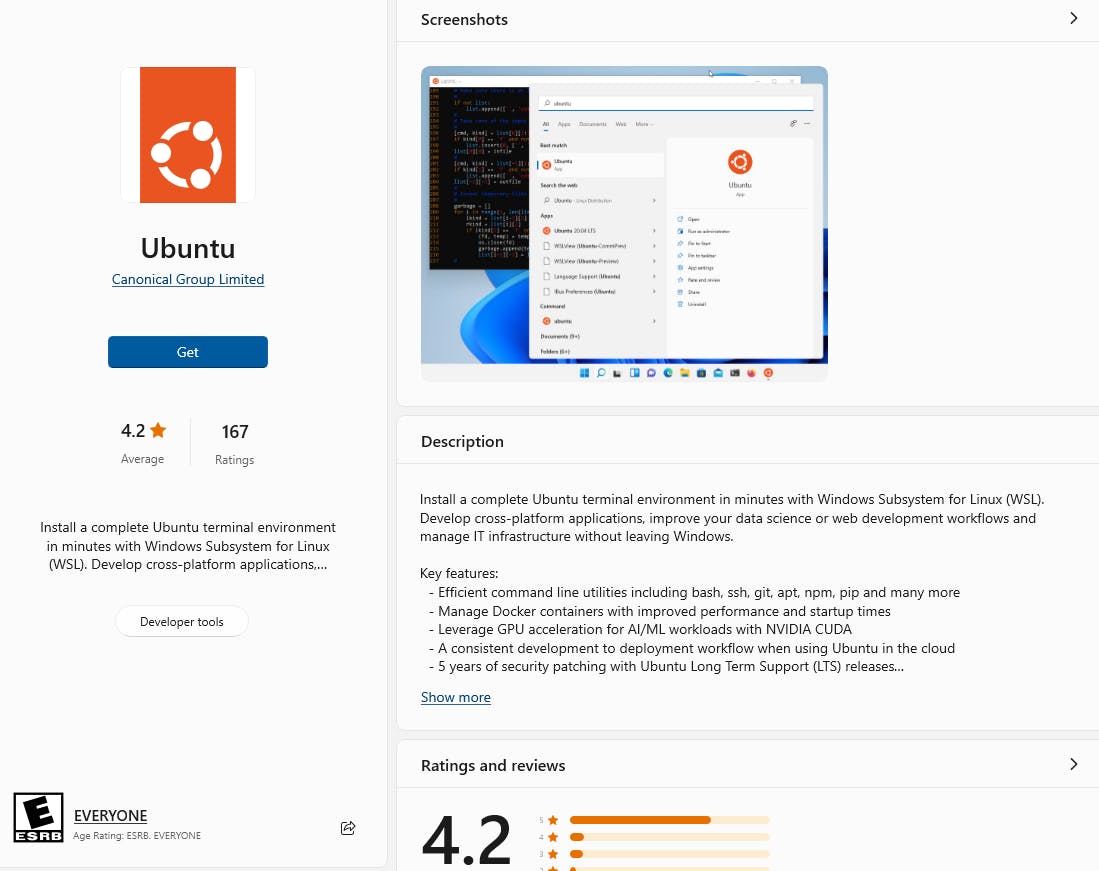
- It will install some files and then prompt you to "Enter new UNIX username", enter a username, and then it will prompt you for a password for your new user.
- Once you have your user, this command which should update all your packages:
sudo apt update - Once that is done upgrade your packages by running:
sudo apt upgrade - Next you have to configure Git by setting your git user name by running:
git config --global user.name "Your Name" - Next configure Git to use your email, you should use the email associated with your GitHub account:
git config --global user.email "YourEmail@email.com"
Installing and configuring Visual Studio Code (VSCode)
- You will need to install Visual Studio Code, you can do that by going to the VSCode website and clicking download for Windows.

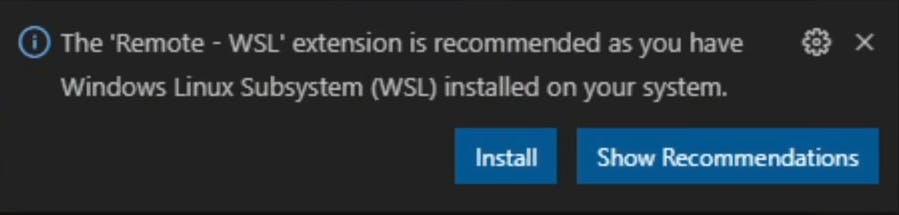
- Once VSCode is done installing open it and it should prompt you to install "Remote - WSL" since you have Window Linux Subsystem installed on your system. Click install.
- After it is done downloading close VSCode.
- Open Ubuntu and run this to open VSCode from the command line:
code .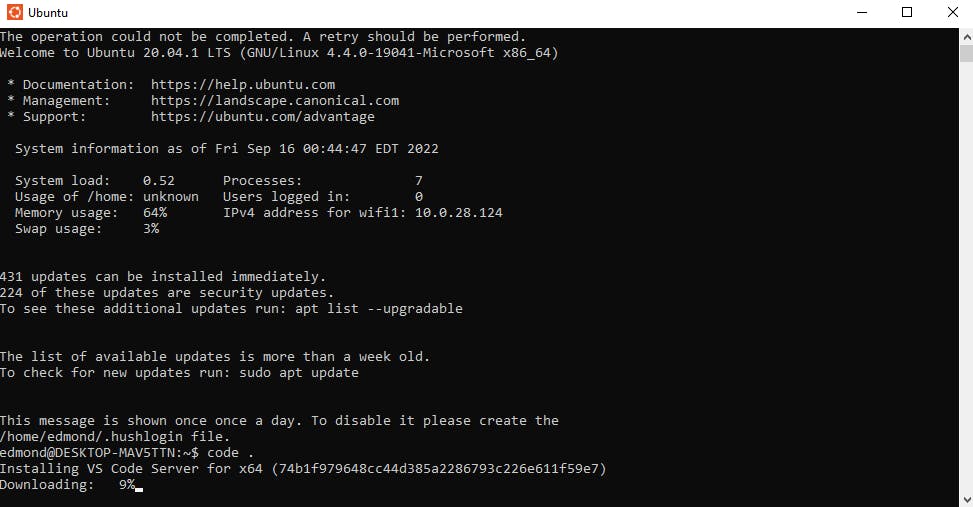
- You can use this method to open your VSCode or just search for the application in your application bar and run it.
- That's it! You're all set up to start coding on your new code editor on a Window Subsystem for Linux.
Developer environment setup for Macs
To start coding on a Mac you have to download a few things. Instead of setting up a Linux subsystem like what we had to do on Windows, we will have to use Homebrew to use the command line to install software and tools.
Installing Homebrew
Homebrew allows you to download applications and tools. It is a package manager for Macs that simplifies installing software on macOS. You can check their website out here. It is open-source and 100% safe as long as you know what you're downloading.
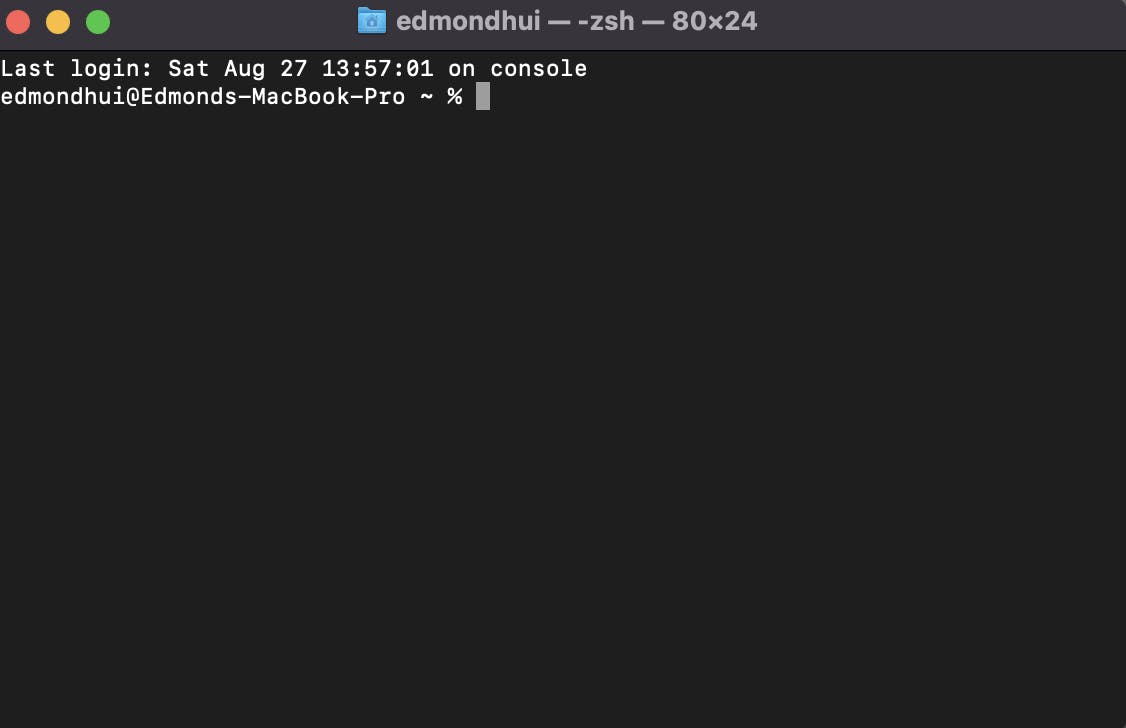
- Open your terminal.
- Run this command to install Homebrew:
/bin/bash -c "$(curl -fsSL https://raw.githubusercontent.com/Homebrew/install/HEAD/install.sh)"RETURNto continue.
Using Homebrew to install Git
- Install git using Homebrew by running:
brew install git - Configure your git by setting your username:
git config --global user.name "Your Name" - Next configure Git to use your email, you should use the email associated with your GitHub account:
git config --global user.email "YourEmail@email.com"
Install Visual Studio Code
You can go to Visual Studio Code's website and click download for Mac. You should be able to unzip it and drag it into your applications. That's it, now you can start coding!

Conclusion
Once you have these basic tools set up on your computer you will be ready to start coding whatever you like. You can always download more tools and software. For example, if you wanted to start doing Ruby development you could install rbenv and Ruby using Homebrew or WSL.
If you are a complete beginner starting to learn how to code I would recommend checking out my beginner developer series. The next article you should read is the How to use Git and GitHub article now that you have set up your development environment and are ready to start committing code.